Published: 24.03.2026
See moreKosmen Air Purifier Maintenance Guide
 Kosmen Tây Nguyên
 Published:
10/10/2025, 08:30
- Updated at 10/10/2025, 08:34
Published:
10/10/2025, 08:30
- Updated at 10/10/2025, 08:34Maintenance guide for the Kosmen air purifier – Learn more now!
Kosmen air purifier is an essential device that helps eliminate bacteria and harmful substances from the air, making it an indispensable solution for improving indoor air quality in every household. To ensure optimal performance, high filtration efficiency, energy savings, and extended lifespan, regular maintenance is necessary. This article will provide you with step-by-step maintenance procedures as well as important usage notes.
1. Maintenance Instructions
Note: Switch off the unit and unplug the power cord before performing any cleaning or maintenance tasks to ensure safety.
Cleaning the Outer Filter (for the Pre-filter)
- Gently remove the pre-filter from the unit.
- Use a soft cloth to wipe off any dust accumulated on the filter.
- Reinstall the filter in the correct position to ensure stable operation of the unit.
Air Sensor Cleaning
- Clean the sensor surface: First, use a soft brush to clean the sensor’s inlet and outlet to remove attached dust and prevent it from falling inside the sensor.
- Remove the sensor cover: Locate the protective cover and remove it in the correct direction.
- Clean the inlet and outlet: Use a damp cotton swab to gently clean both ends of the sensor, removing any stubborn dust.
- Ensure the sensor is completely dry: After cleaning with a damp cotton swab, use a dry cotton swab to wipe the cleaned areas again, ensuring no moisture remains on the sensor.
- Reinstall the sensor cover: After cleaning, securely reinstall the protective cover in the correct position to ensure normal sensor operation and prevent dust intrusion.
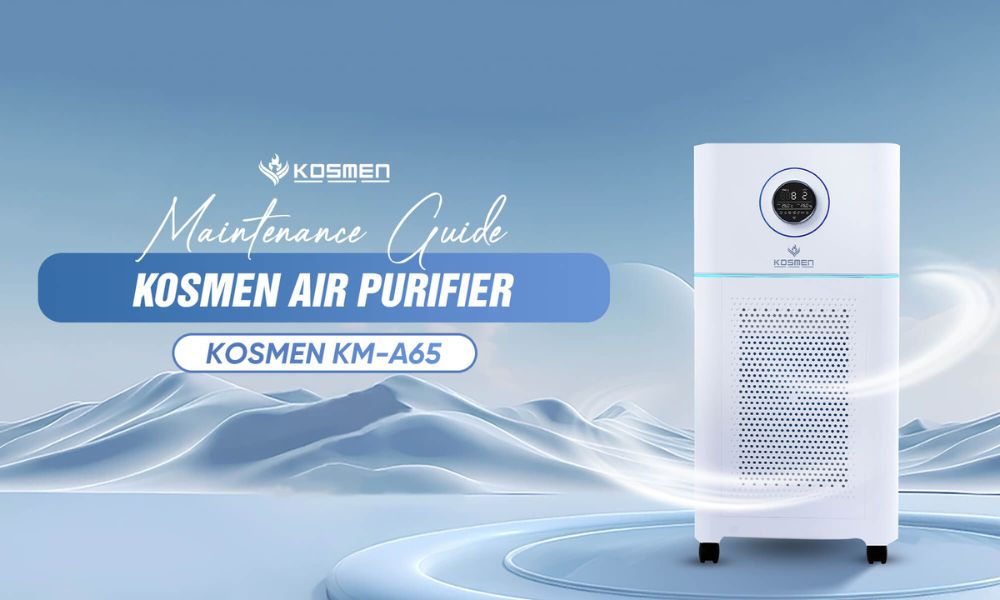
Kosmen Air Purifier Maintenance Guide
Water Tank Cleaning
- Remove the water tank: Gently detach the water tank from the unit, taking care not to spill water onto the machine.
- Discard all remaining water: If the water in the tank contains dust, dirt, or has been left for a long time causing odor or mold, pour out all the water.
- Clean the water tank: Thoroughly clean the tank, including corners and edges, to remove any dirt or residue inside.
- Reinstall the water tank: After cleaning, refill the tank with clean water and reinstall it in the correct position to ensure normal operation of the unit.
Unit Body Cleaning
- Use a soft, dry cloth to wipe the entire surface of the unit, removing any dust accumulated on the body.
- After cleaning, place the unit back in its proper operating position, ensuring it is on a flat surface and unobstructed for effective performance.
2. Periodic Maintenance Inspection
To ensure optimal operation, the unit requires regular inspection, maintenance, repair, and replacement of any damaged components:
- Filter Core: For the pre-filter, clean it regularly to remove dust buildup. For the H13 HEPA filter and activated carbon filter, replace them every 6–12 months, or sooner if the filter changes color, produces odor, or if the unit operates inefficiently.
- Power Cord: Inspect regularly. If cracks or fraying are found, replace the cord immediately to prevent electrical hazards.
- Water Tank: Check the tank before activating the humidification function. Replace it if cracks or water leakage are detected.
- Air Quality Sensor: Clean every two months to ensure accurate air quality measurement.
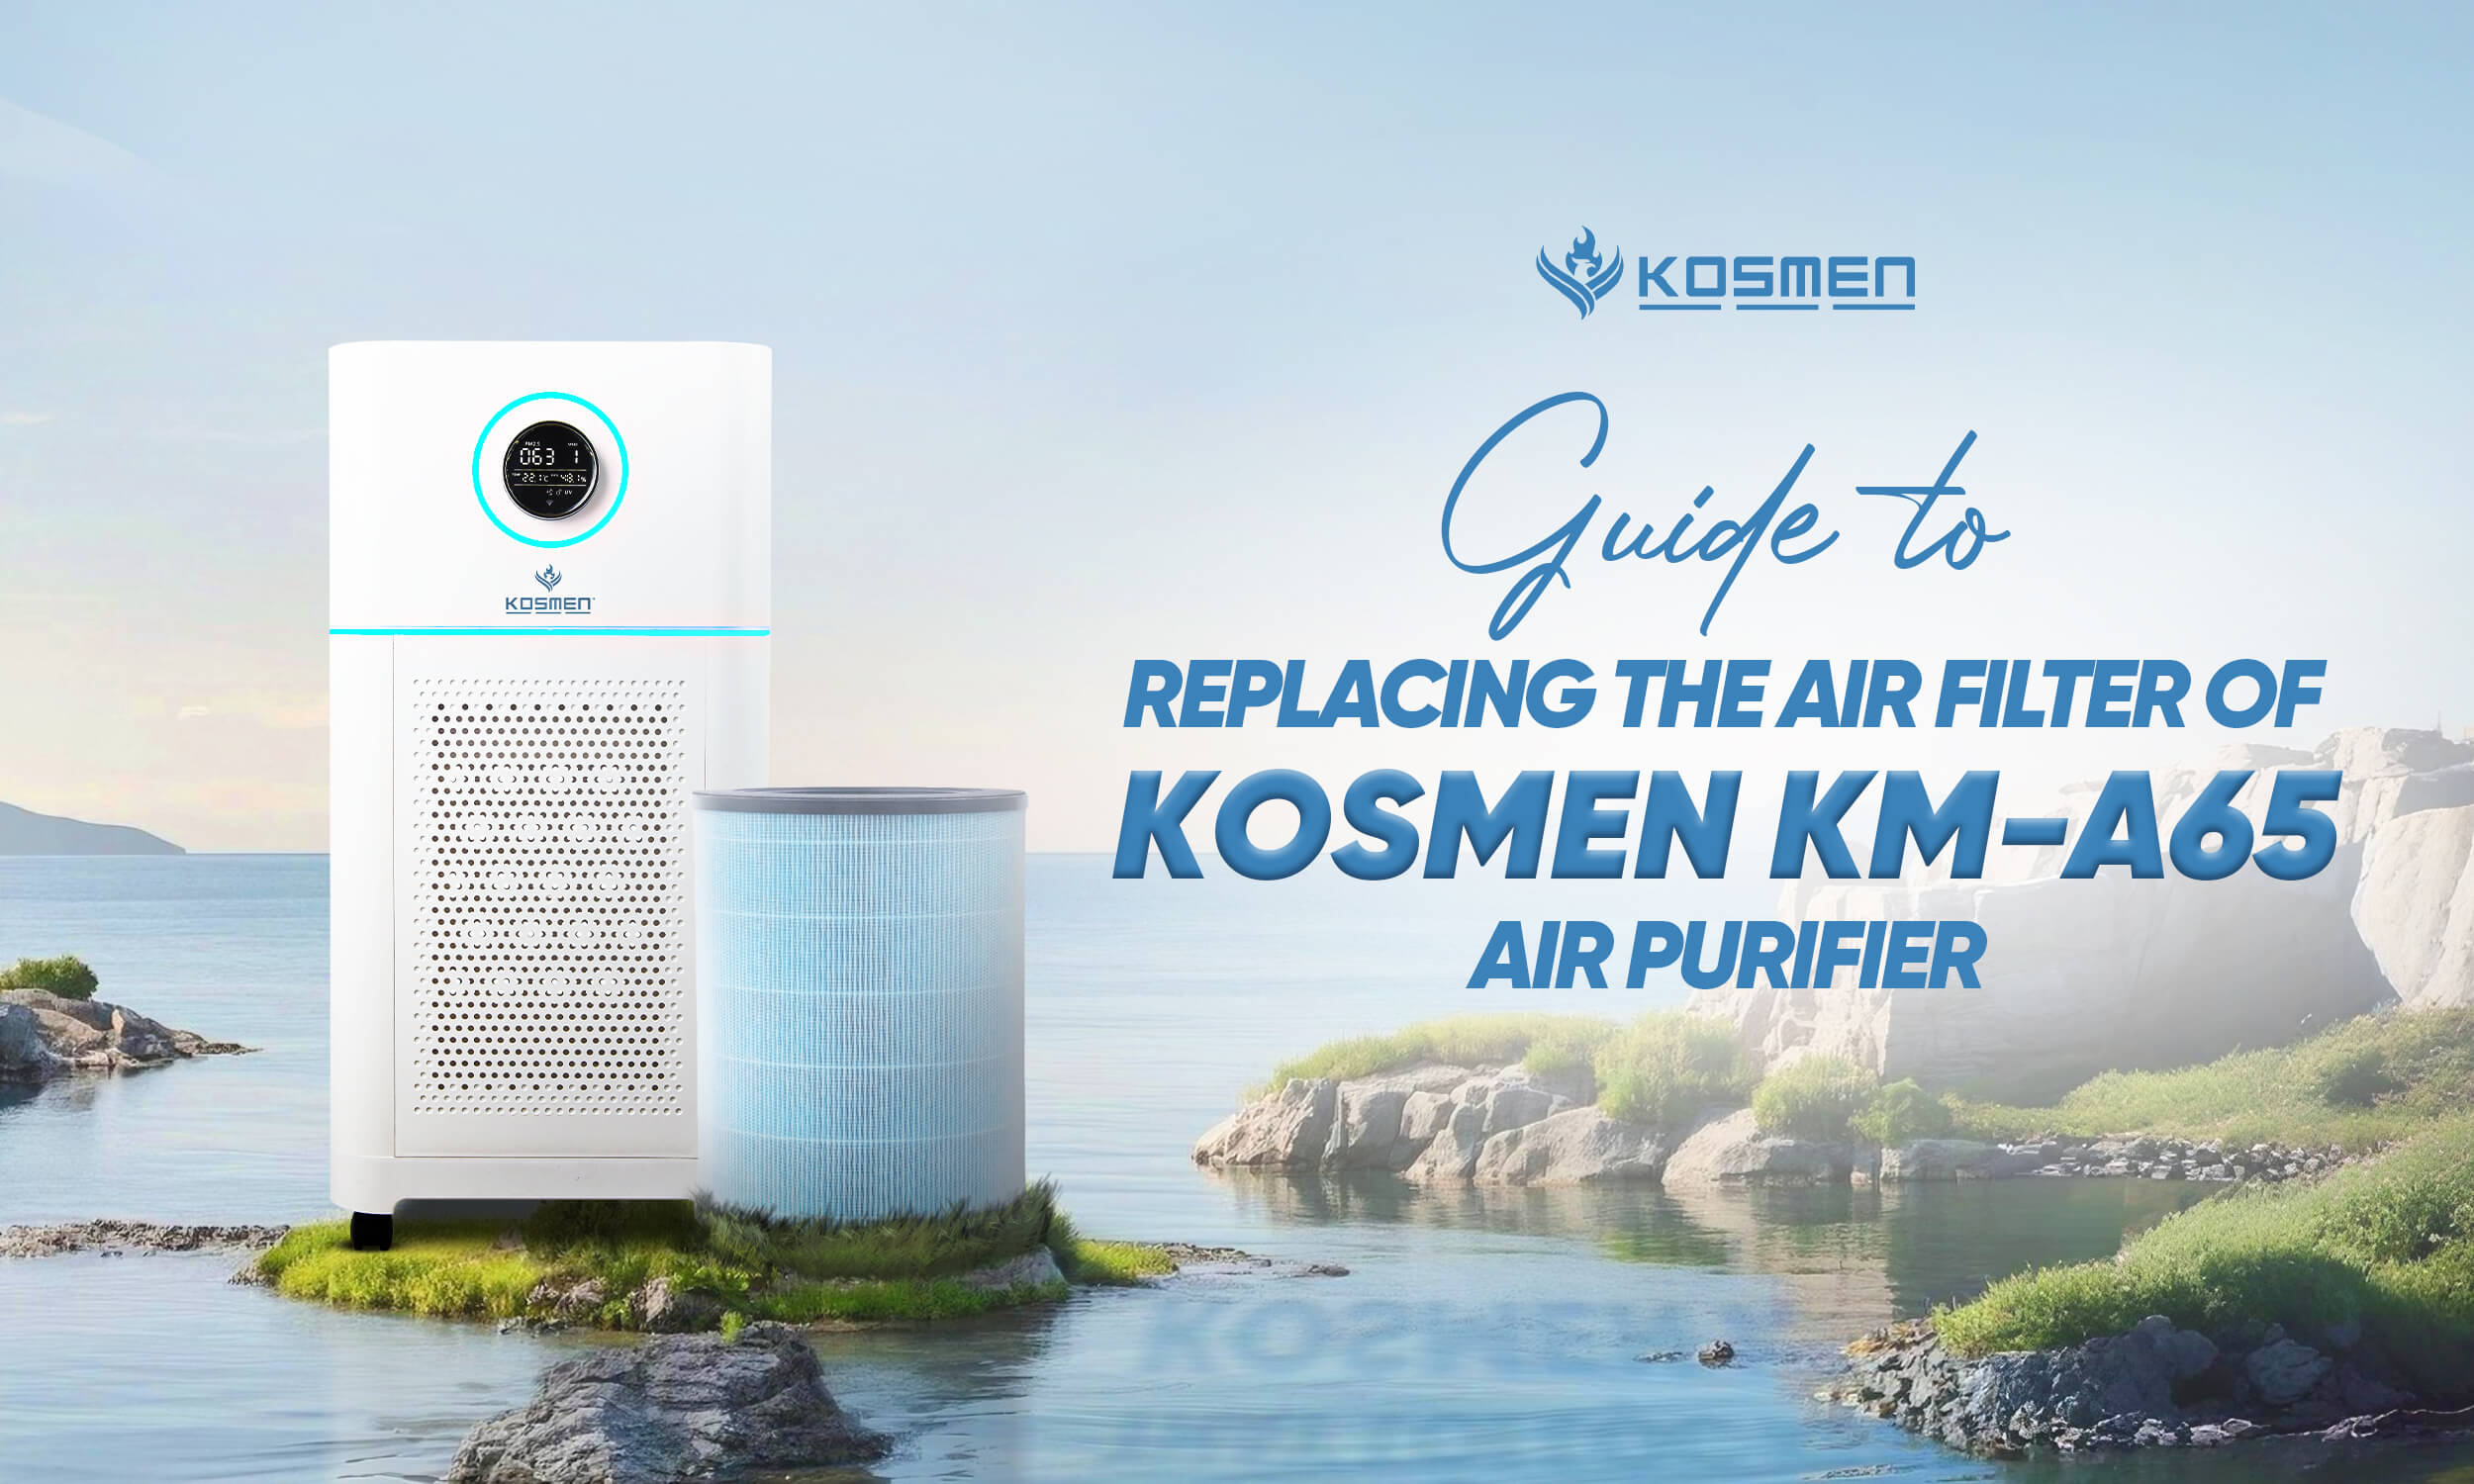
3. Instructions for Replacing the Air Filter at Home
After a period of operation, dust and dirt will accumulate on the filter core, reducing performance. You should replace the filter when the indicator light signals a warning, when the filter changes color, or when the air quality after filtration is noticeably reduced compared to before. The following steps outline how to replace the air filter at home:
Removing the Old Filter:
- Before removing the filter, turn off the unit and unplug all power cords to ensure safety.
- Rotate the filter cover clockwise to open it.
- Gently remove the old filter from the unit.
Installing the New Filter:
- Remove the protective packaging from the new filter.
- Place the new filter in the correct position inside the unit.
- Reinstall the cover by rotating it counterclockwise to secure it.
- Press and hold the RESET button for 5 seconds to restart the unit.
4. Important Notes – Please Read Carefully Before Using the Device
Installation Notes:
- Place the unit at least 30 cm away from walls and obstacles, avoiding damp or humid areas.
- Do not position the unit flush against walls or objects; always maintain a minimum clearance of 30 cm.
Usage Notes:
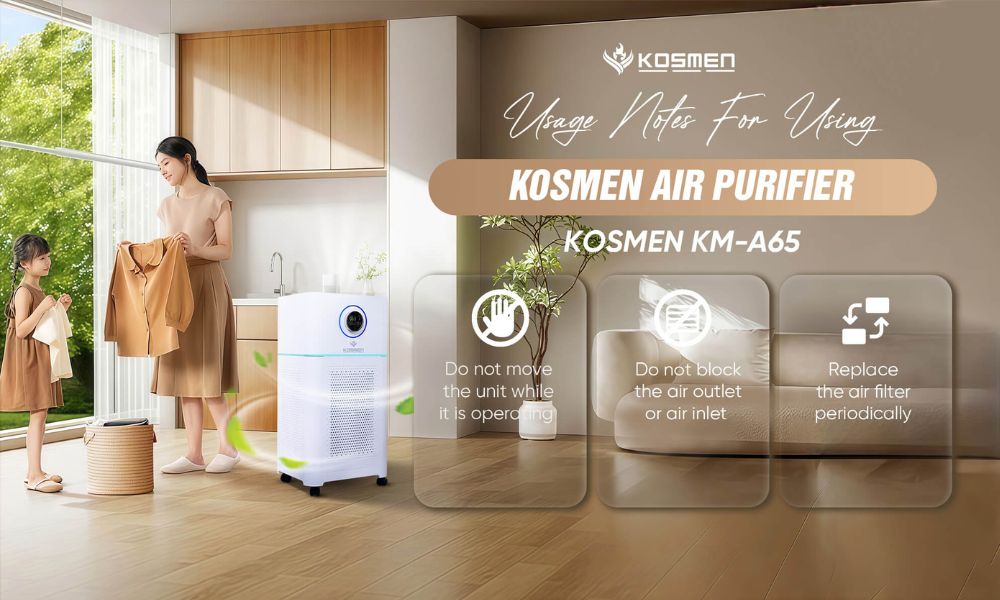
- Do not move the unit while it is operating to avoid internal component collision or damage.
- Adjust the operating mode according to actual usage needs.
- Keep doors and windows closed during operation to prevent outdoor polluted air from entering, which would force the unit to run at high capacity.
- Replace the air filter periodically, on average every 6–9 months, depending on the surrounding air pollution level.
- Use a compatible power source and avoid overloading to prevent short circuits or fire hazards.
- Do not block the air outlet or air inlet.
Usage Notes For Using Kosmen Air Purifier
Cleaning Notes:
Always unplug the power cord from the outlet before cleaning to ensure safety.
- Do not use chemicals or cleaning agents when cleaning the unit.
- For the unit body and air sensor, clean regularly with a soft, dry cloth to remove dust.
- Only the pre-filter may be cleaned with water.
5. Troubleshooting Guide
Issue | Possible Cause | Solution |
Filter replacement light is on | The filter is dirty and needs replacement | Replace the filter and reset the filter indicator |
Unit does not operate | Power button not pressed; electrical issue such as loose cord, power outage, or damaged plug | Check the power supply, replace damaged cord, and verify the power button |
No air coming from outlet | Unit not started or not connected to power | Check power supply and ensure the unit is turned on |
Weak airflow | Protective packaging not removed from the filter | Remove packaging before use |
Air quality does not improve | Air quality sensor is damp, or humidity is too high | Ensure the air sensor is properly cleaned |
Air quality indicator light does not change | Air quality sensor is dirty | Clean the air quality sensor regularly and properly |
Want to improve filtration efficiency for allergy sufferers | Default sensitivity setting is not sufficient | Adjust sensor sensitivity in settings for stronger operation |
Loud operating noise | Fan speed set too high, or filter packaging not removed | Lower fan speed, remove filter packaging before use |
Unit still shows filter replacement required after replacing filter | Filter not reset correctly | Press and hold the Filter Reset button as instructed in the manual |
No mist output when humidification function is on | No water or insufficient water in the tank | Ensure the tank is filled with enough water and installed correctly |
Performing regular and proper maintenance of the air purifier helps ensure efficient operation, prevents reduced service life, and keeps the air in your home fresh and comfortable. If you have any questions during the maintenance process, please contact Kosmen for timely and accurate support.
Contact Support:
- Head Office: No. 27B, Street 12, Hiep Binh Ward, Ho Chi Minh City
- Hanoi Office: No. NV4.7, Cau Buou New Urban Area, Thanh Liet Ward, Hanoi City
- Da Nang Office: No. 41, Vo An Ninh Street, Hoa Xuan Ward, Da Nang City
- Da Lat Office: No. 38/7, Ba Thang Hai Alley, Xuan Huong Ward, Da Lat, Lam Dong Province
- Hotline: 0766 899 799 (North) - 0965 210 874 (South) - 0961 061 076 (Central Highlands) - 0935 696 695 (Central)
- Website: kosmen.com.vn
Share the article


Related news