Published: 24.03.2026
See moreManual For Kosmen KM-A65 Air Purifier
 Kosmen Đà Nẵng
 Published:
02/08/2025, 08:00
- Updated at 02/08/2025, 08:31
Published:
02/08/2025, 08:00
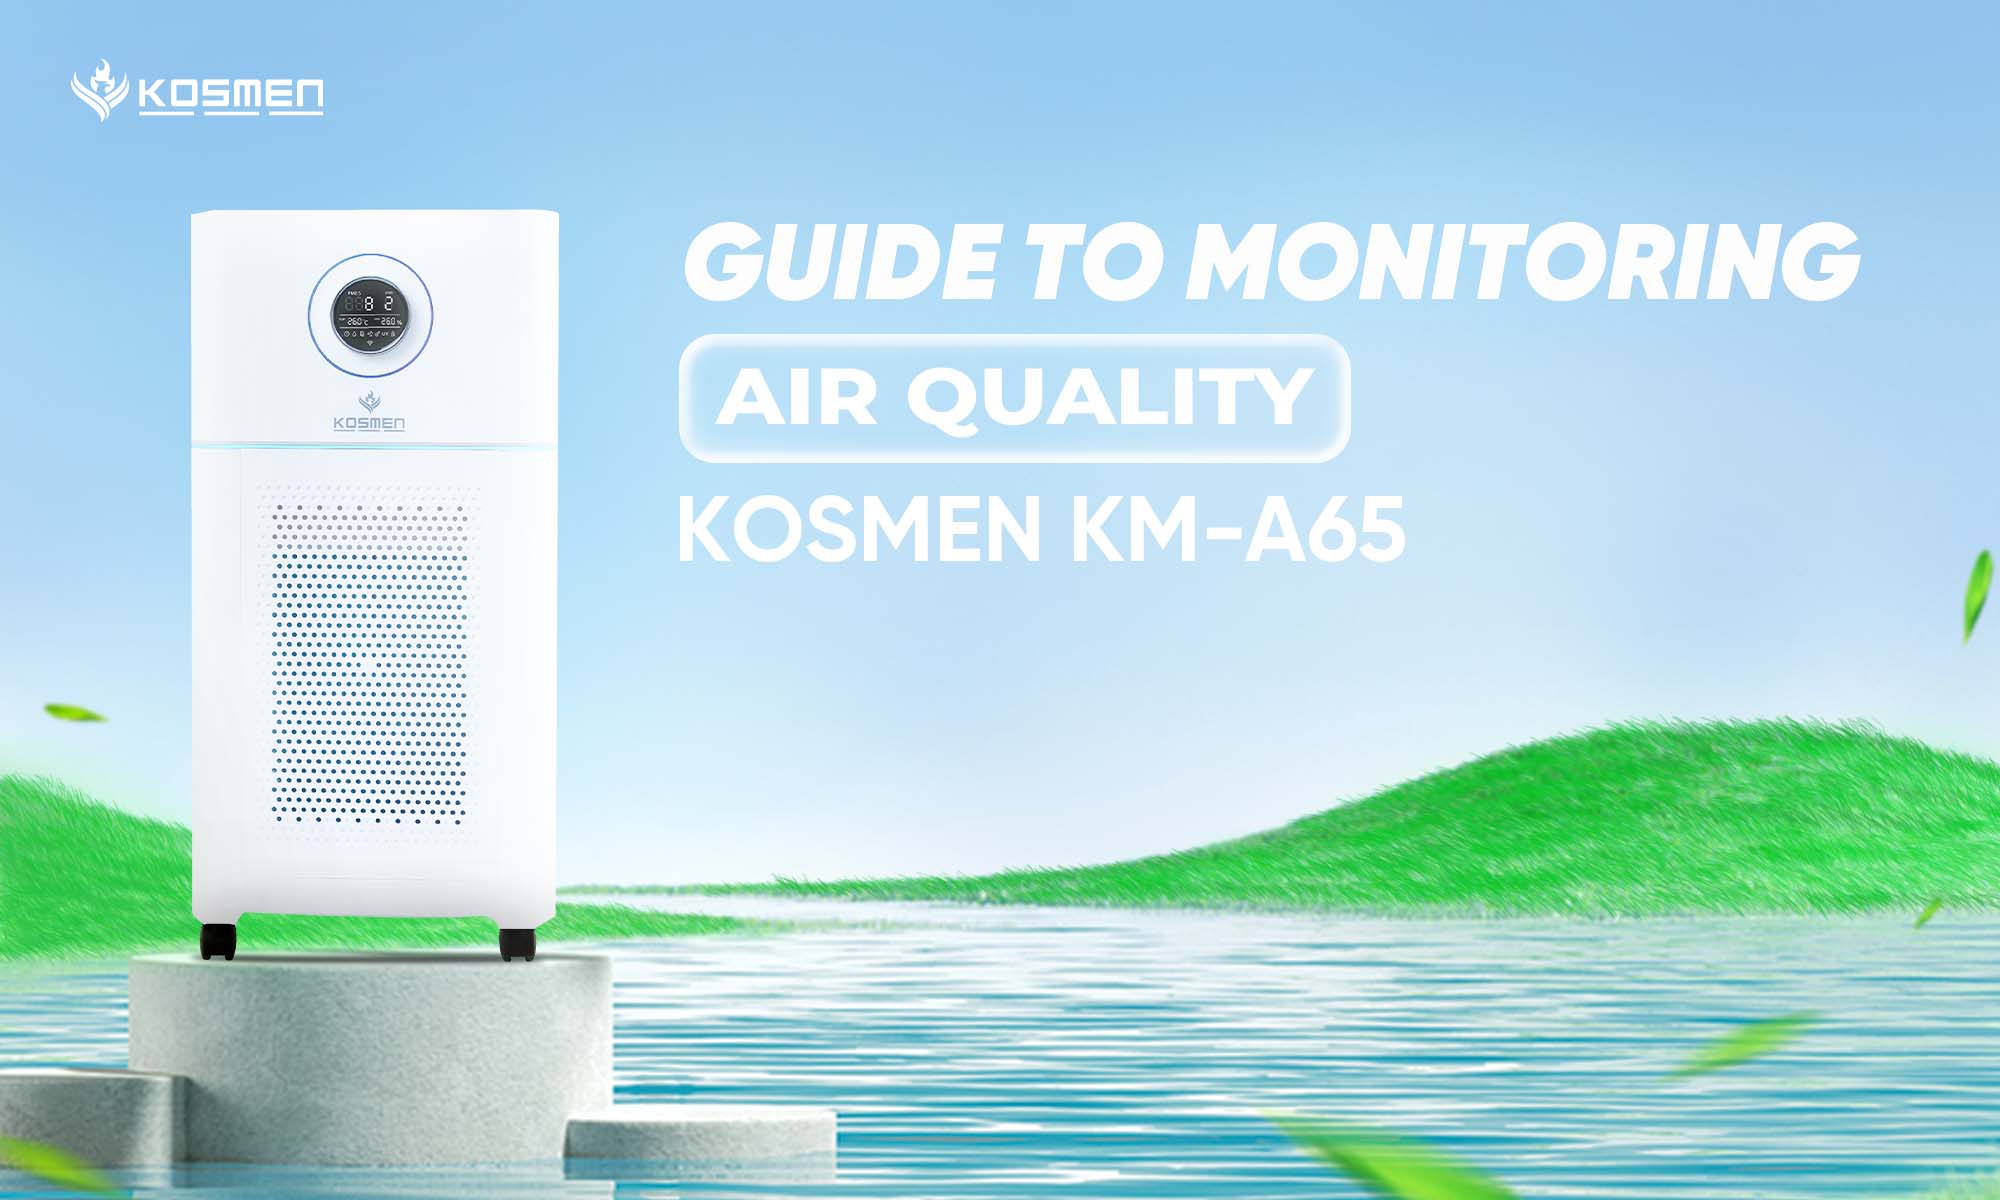
- Updated at 02/08/2025, 08:31Kosmen KM-A65 Air Purifier Detailed User Manual
Product Functions
Air Purification
The Kosmen KM-A65 air purifier uses a 3-layer filtration system: Pre-filter – HEPA H13 – Activated Carbon. This system helps remove dust, fine particles (PM2.5), bacteria, viruses, and unpleasant odors from the air, providing a fresh and clean living environment.
Negative Ion Generation
The machine can release up to 20 million negative ions/cm³. Negative ions help neutralize airborne dust particles and bacteria, enhance air cleaning efficiency, and create a relaxing, pleasant atmosphere.
UV Sterilization
Equipped with a UV light, the machine helps eliminate and inhibit the growth of harmful microorganisms in the air such as bacteria and viruses.
Humidification
With a humidification capacity of 100 ml/h and a 300 ml water tank, the KM-A65 helps balance humidity in dry spaces, suitable for rooms of 5–10 m².
Timer
Allows users to set the operating time with the following options: 1h, 4h, 8h, 12h.
Child Lock
This feature disables all controls to ensure safety when there are children around.
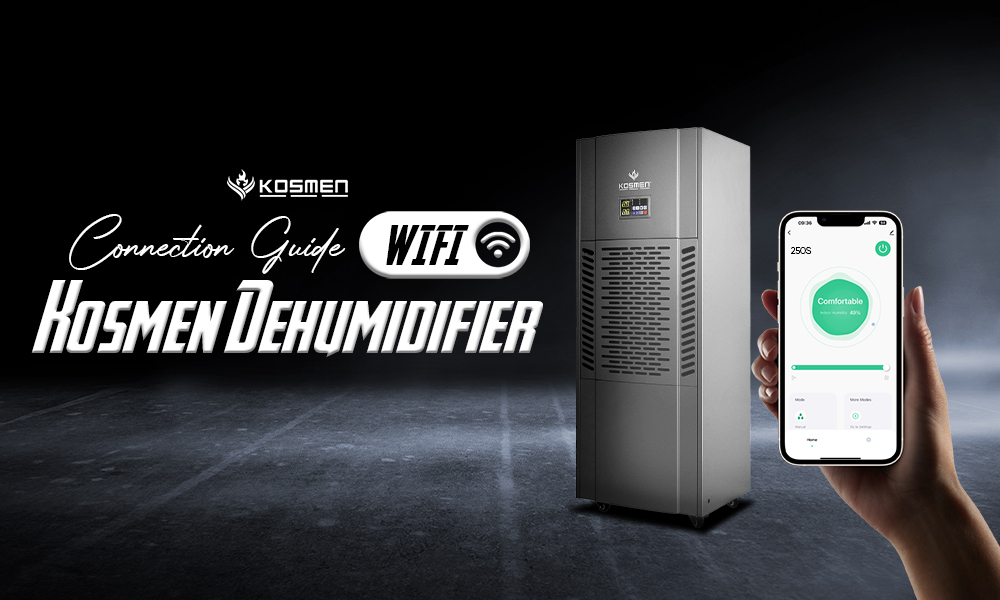
WiFi Connectivity & Remote Control
Users can connect the purifier to the “Smart Life” or “Tuya Smart” apps for remote control via smartphone. In addition, a physical remote control is included for convenient operation.
Smart Sensors and Air Quality Indicator
The purifier automatically evaluates and displays air quality using color indicators:
- Green light: Good air quality (PM2.5 index: 0 – 70)
- Purple light: Moderate air quality (PM2.5 index: 71 – 150)
- Red light: Poor air quality (PM2.5 index: 151 – 250)
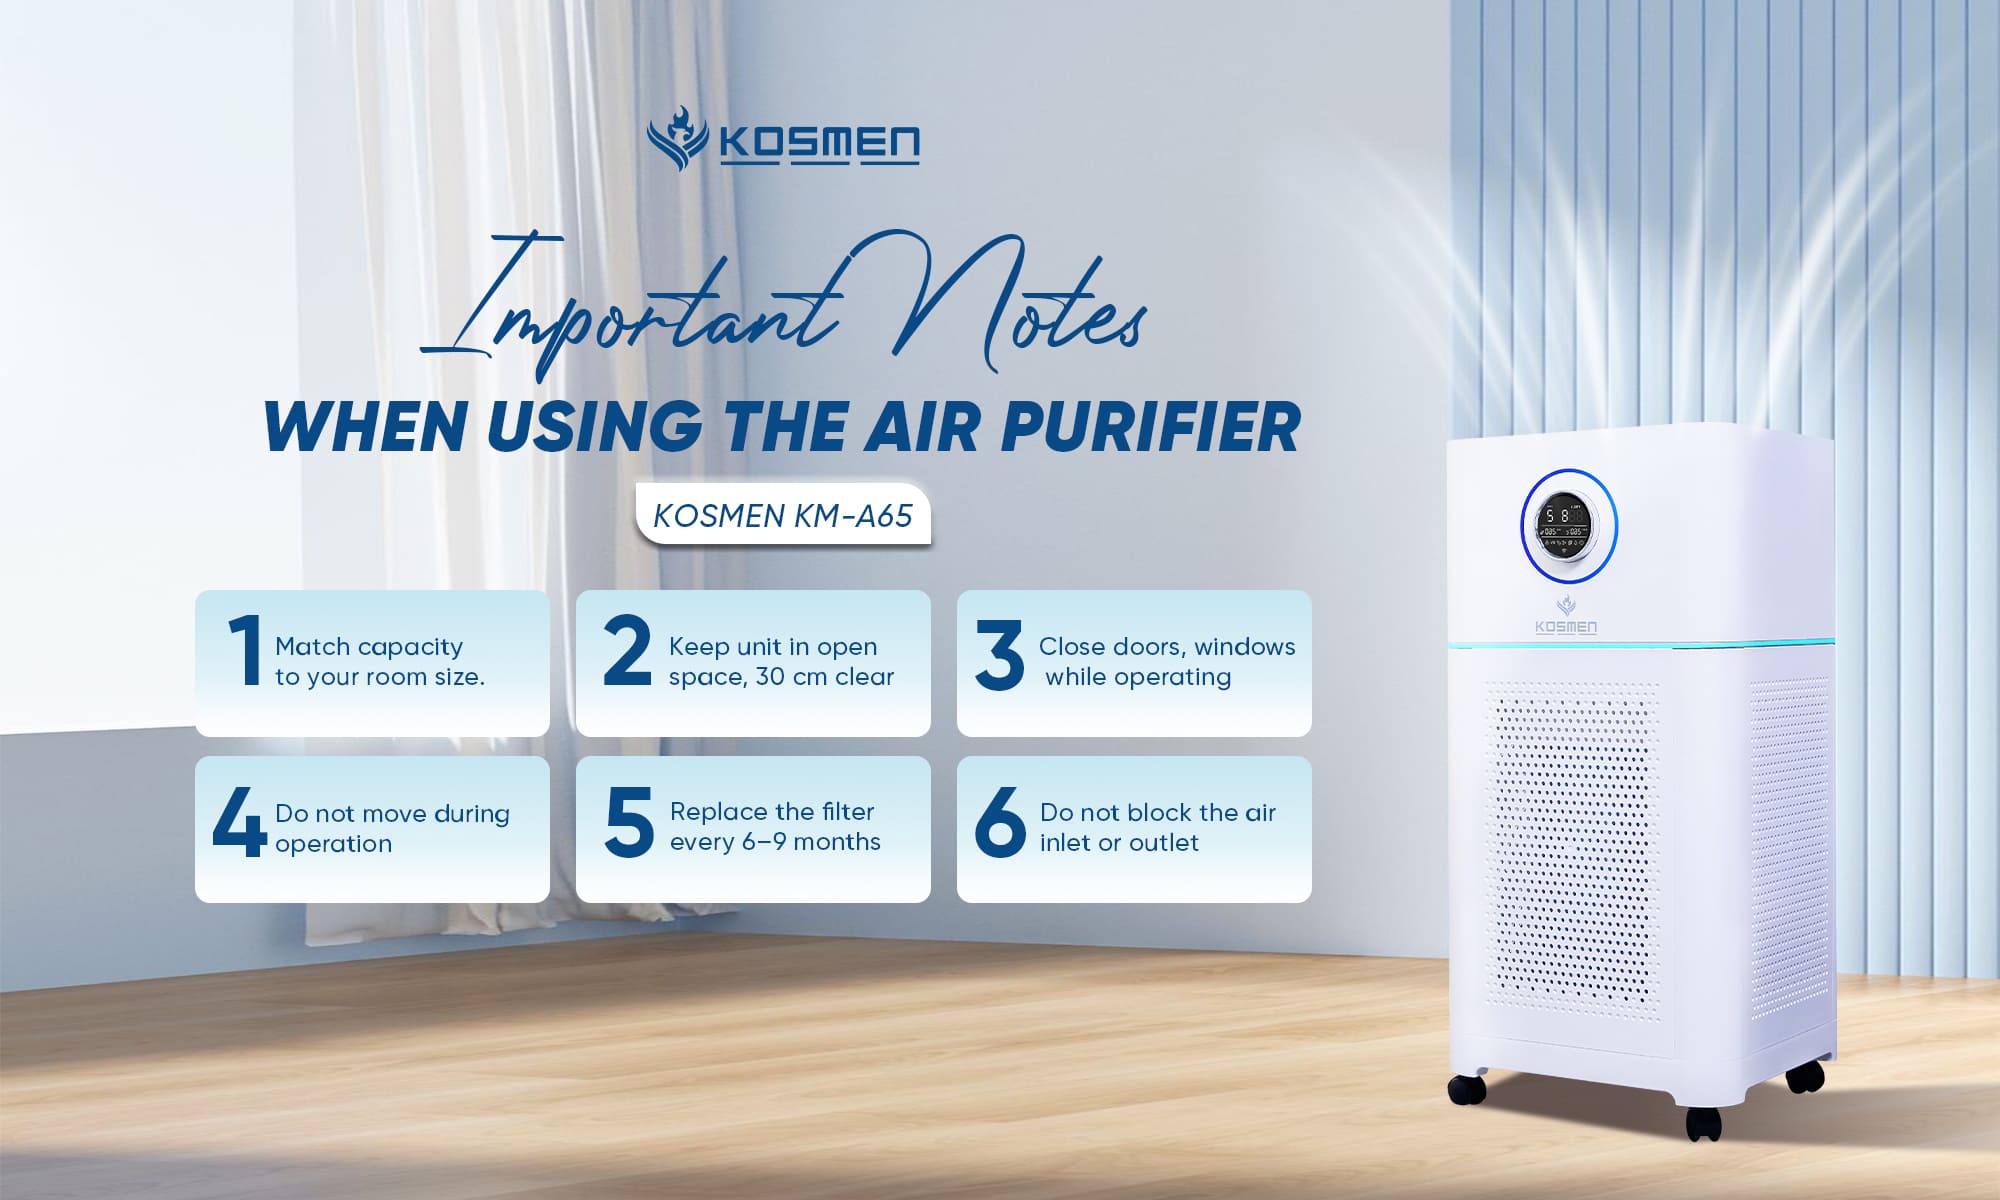
Some Important Notes When Using the Kosmen KM-A65 Air Purifier
Note: When the purifier is turned on, the air quality sensor needs a short time to detect the indoor air quality. The indicator light will change color and finally stabilize according to the detected air quality level.
User guide
Operating Instructions
Touch Control Panel
Power: Press to turn the machine ON/OFF.
Timer: Press to select the operating time of the device with options: 1H, 4H, 8H, 12H, corresponding to the preset duration.
Fan Speed: Select one of five fan speeds to suit your needs, with the following modes:
- Smart fan mode
- Fan speed level 1
- Fan speed level 2
- Fan speed level 3
- Fan speed level 4
- Auto (adjusts automatically based on sensor feedback).
Humidify: Press to turn the humidification function ON/OFF.
UV-C (UV/Negative Ion): Controls the negative ion function of the device. For models equipped with a UV lamp, this button also controls the UV function.
Child Lock: Press and hold both the “TIMER” and “UV-C” buttons for 3 seconds to activate or deactivate this feature.
WiFi: Press and hold the “WiFi” button for 5 seconds. When the WiFi indicator starts blinking, the device is ready to connect to the mobile app.
WiFi Connection
- Download the “Smart Life” or “Tuya Smart” app.
- Press and hold the WiFi button on the machine for 5 seconds until the WiFi indicator blinks.
- Open the app, select “Add Device” → “Air Purifier”, and follow the on-screen instructions.
- Ensure you are using a 2.4GHz WiFi network and place the device close to your router during setup.
Note: During setup, ensure the air purifier, smartphone, and WiFi router are close to one another.
Operating Guidelines
Operating time
The machine can run continuously throughout the day. However, it is recommended to let the unit rest for 30 minutes after every 8–10 hours of continuous operation.
Humidification Function
Before activating the humidification function, ensure the water tank has enough water. Operating the machine without water or with too little water may cause damage.
Steps:
- Remove the nozzle: The nozzle is magnetically attached. Gently lift it to detach from the device.
- Fill the water tank: Pour purified water into the tank up to the marked level. Do not exceed the maximum line. Reinstall the tank in the correct position.
- Reinstall the nozzle: Place the nozzle back into position. Make sure the column and slot are aligned before securing.
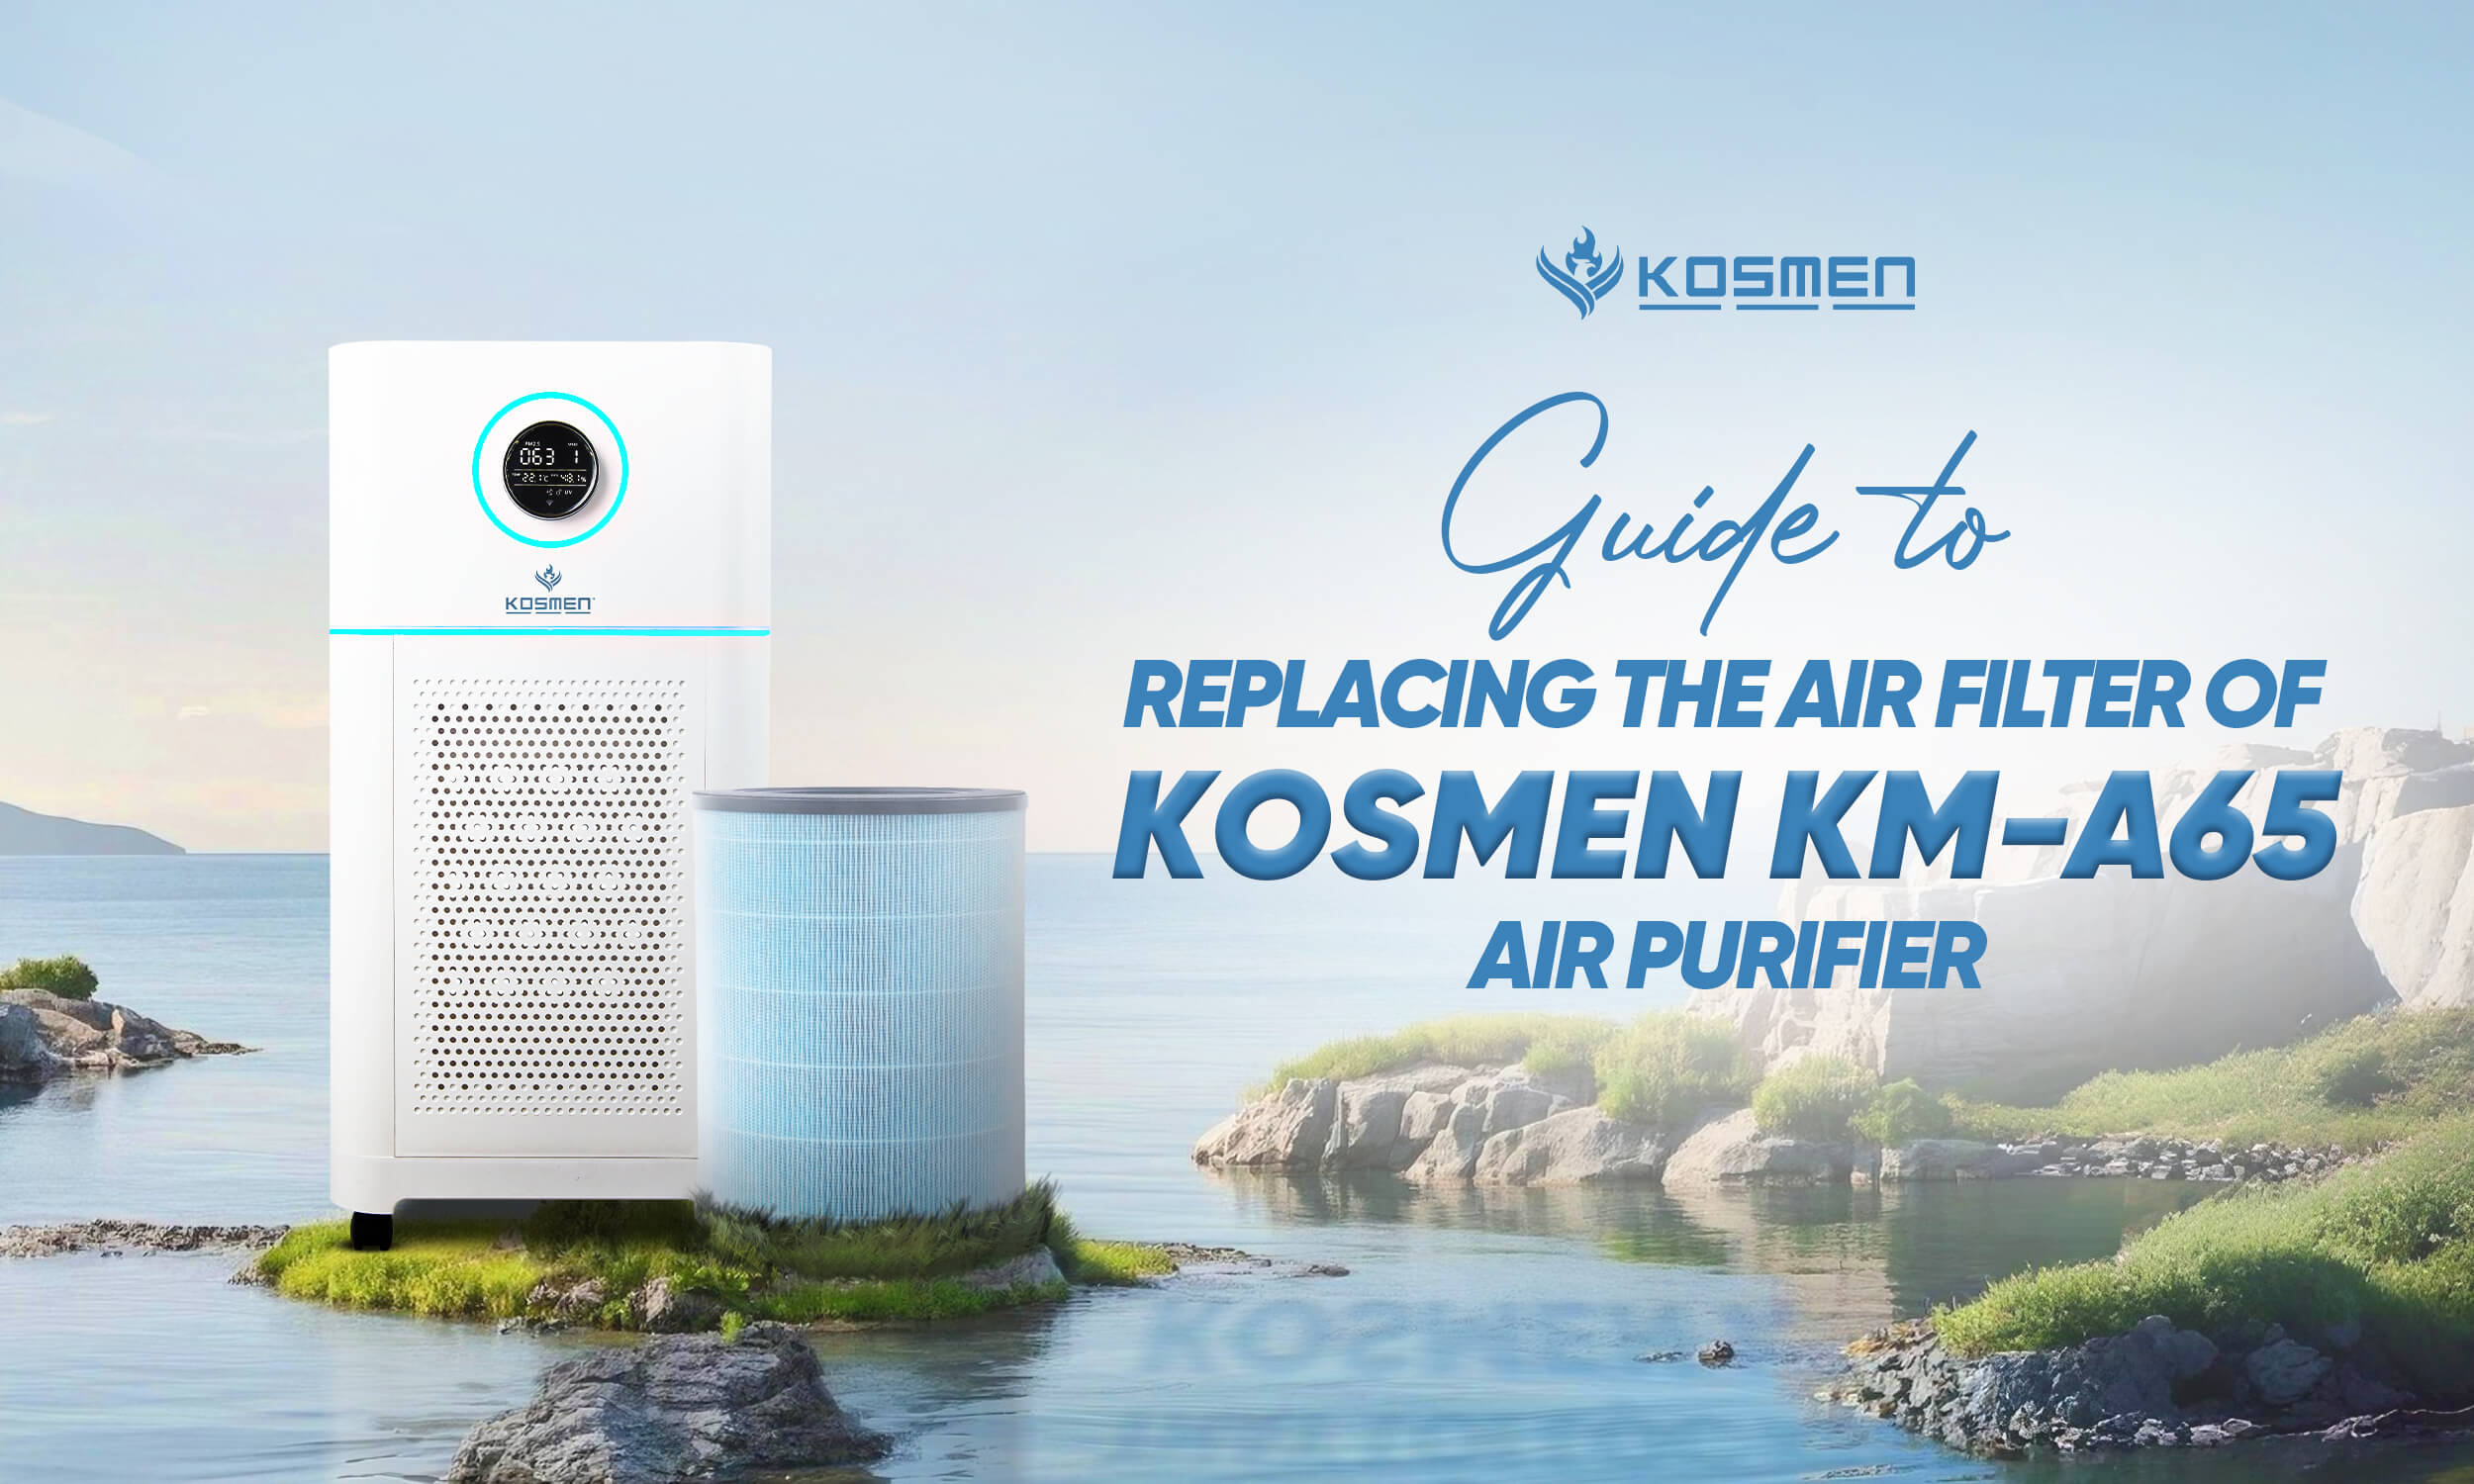
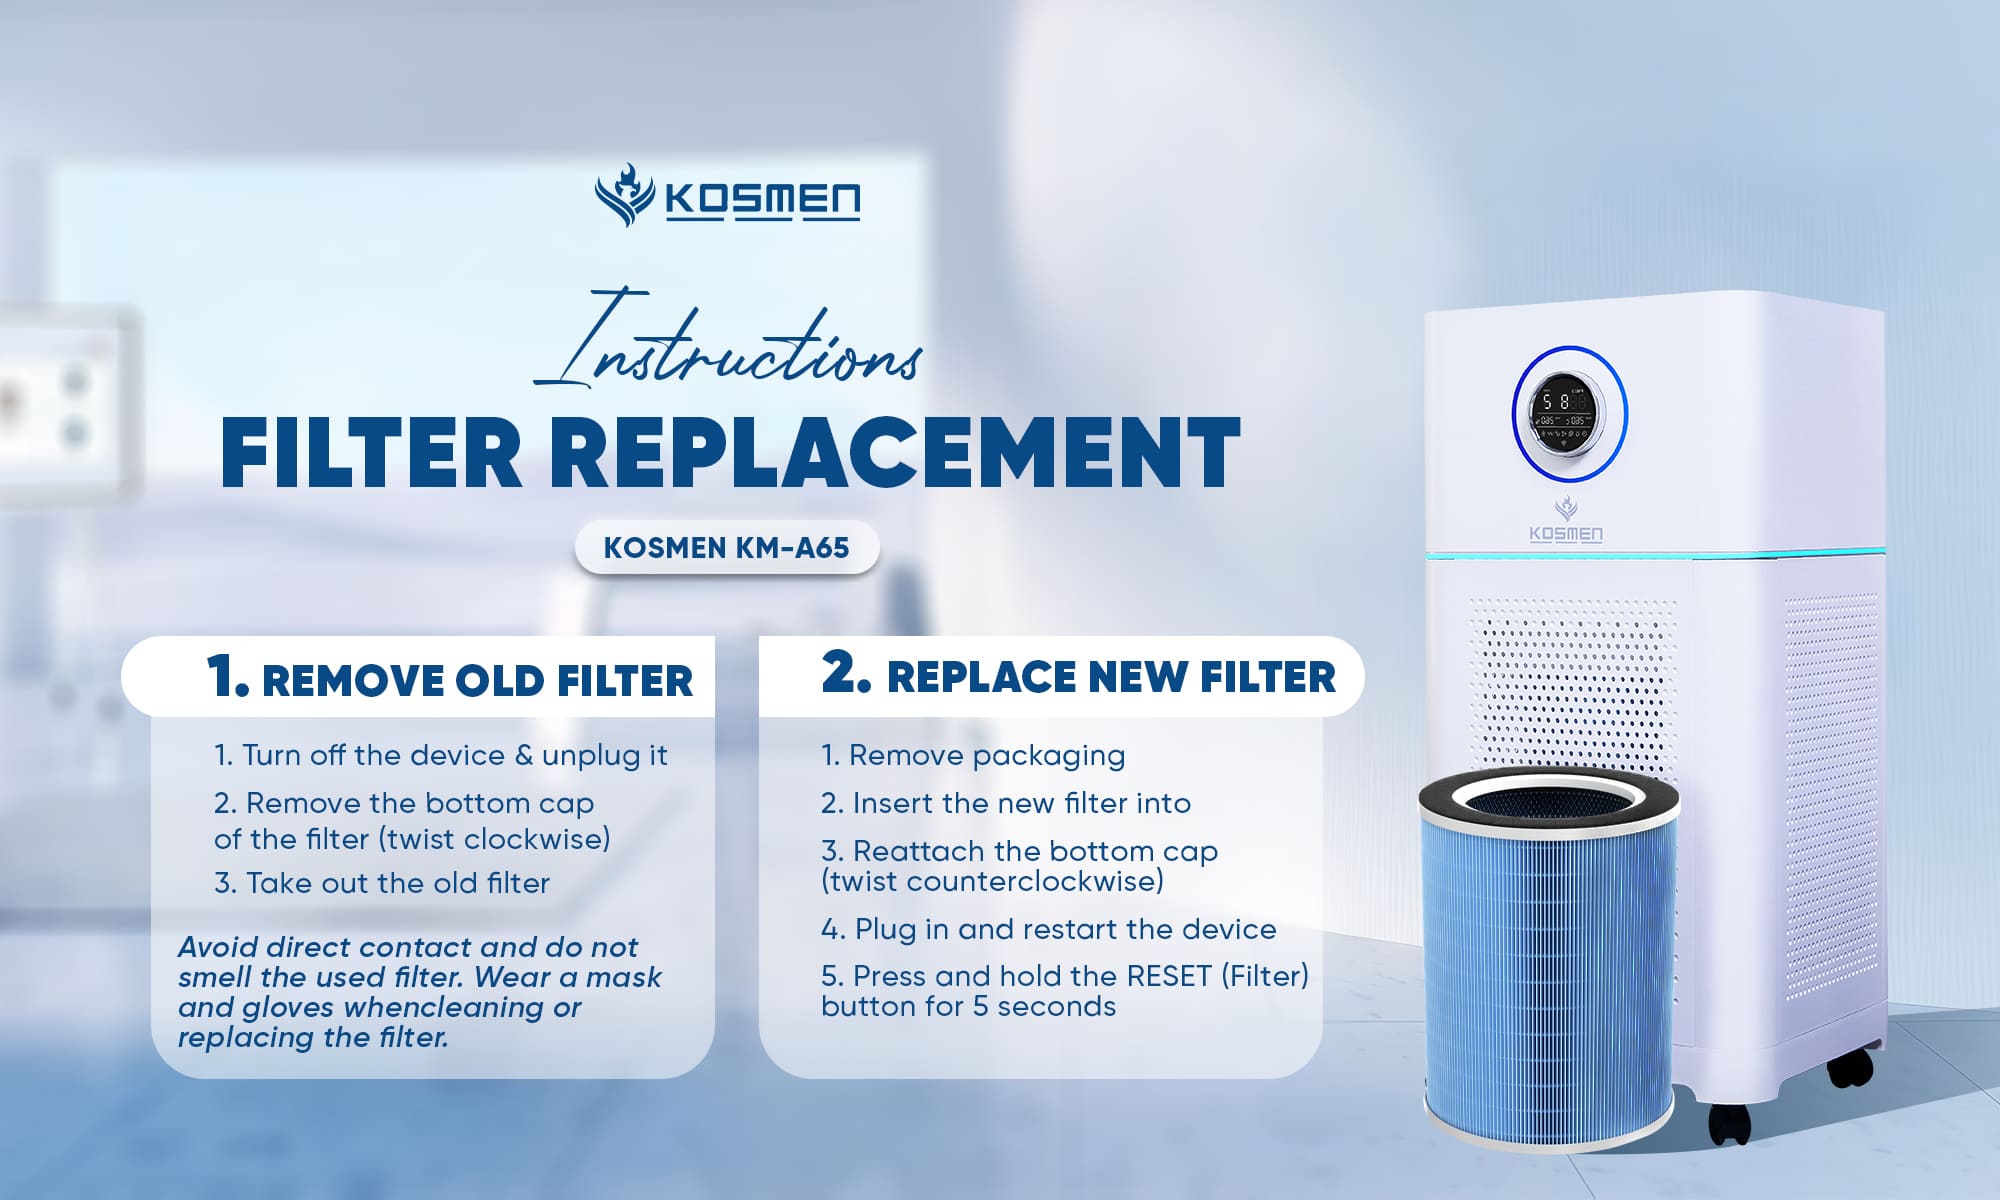
How to Replace the Filter:
Step 1: Turn off the device and unplug it from the power source for safety.
Step 2: Rotate the bottom filter cover clockwise to remove it.
Step 3: Gently remove the used filter from the device.
Note: Avoid direct contact with the surface of the used filter. Do not smell the used filter as it may contain airborne contaminants.
ChatGPT said:
Step 4: Remove all protective packaging from the new filter before installation.
Step 5: Place the new filter into the correct position inside the unit.
Step 6: Reattach the bottom cover and tighten it by rotating counterclockwise.
Step 7: Plug the unit back in and turn it on.
Step 8: Press and hold the RESET (Filter) button for 5 seconds to reset the filter replacement timer.
Note:
- The filter should be replaced every 6–9 months depending on the level of use and the air quality in your area.
- In highly polluted environments or during continuous operation, check and replace the filter more frequently.
- If you remove the front panel to replace the filter while the device is running, all indicator lights will turn off.
- After reinstalling the front panel, the air purifier will resume operation in its previous state.
- The filter is replaceable only; it cannot be washed or cleaned with a vacuum cleaner.
Important: Install the filter in the correct position. Make sure the pull-tab side of the filter is facing you.
Important Usage Notes for Kosmen KM-A65
General Usage Guidelines
To ensure optimal air purification and extend the lifespan of the device:
- Choose the right size: Match the device capacity to your room size. A purifier that is too small or too large will affect performance. The KM-A65 is suitable for spaces of 40–60 m².
- Correct placement: Place the unit at least 30 cm away from obstacles. Avoid placing it near water sources or damp areas such as kitchens where grease may clog the filter.
- Avoid walls or uneven surfaces: Always place the unit on a stable, flat surface to prevent tilting or vibrations.
- Indoor use only: Do not use the purifier in closed spaces such as cabinets, cars, or areas with no ventilation.
- Close doors and windows: Keeping doors or windows open allows outdoor pollutants to enter, forcing the purifier to work harder and reducing its lifespan.
- Do not move the unit while in operation: This may cause internal components to collide and result in electrical faults or damage.
- Use appropriate modes: Avoid running the machine at high power continuously if not necessary, to reduce energy consumption.
- Replace filters regularly: Replace filters every 6–9 months. Always turn off the power and empty the humidifier water tank before replacing filters.
- Check voltage: Ensure the voltage indicated on the back or bottom of the device matches your local power supply before first use.
- Inspect power cords: Do not use the machine if the plug, power cord, or device shows signs of damage. If the cord is damaged, replace it immediately through an authorized technician.
- Maintenance and repairs: Only qualified technicians should perform maintenance or repairs according to the manufacturer’s instructions.
- Supervised use: Children, persons with reduced physical, sensory, or mental capabilities, or those with insufficient experience must be supervised and properly instructed before use.
- Airflow safety: Do not block the air inlet or outlet. Never place objects over these openings.
- Intended use: This device is not designed to be a medical device. It does not replace specialized ventilation systems, standard vacuum cleaners, or kitchen exhaust fans.
- Electrical safety: Ensure the plug is securely inserted into the outlet. Loose connections may cause overheating.
Some Important Notes for Using the Kosmen KM-A65 Air Purifier
Cleaning Notes
To ensure the device operates efficiently, lasts longer, and maintains optimal air quality, please follow these cleaning guidelines:
1. General Cleaning Precautions
- Always turn off the power and unplug the device before cleaning or moving it to ensure safety.
- Do not use corrosive or flammable chemicals such as gasoline, alcohol, bleach, etc., to clean any part of the device.
- Only the coarse pre-filter can be cleaned with water.
- The humidifier nozzle is magnetically attached. When cleaning, gently remove it to avoid damage.
2. Cleaning the Unit Body and Air Sensor
- Regularly wipe the outer surface of the unit with a soft, dry cloth to remove dust and maintain both appearance and performance.
- Periodically clean the air quality sensor’s inlet and outlet with a soft, dry cloth to ensure accurate detection.
3. Cleaning the Air Quality Sensor
- Clean the air quality sensor every 2 months to ensure accurate air quality measurements indoors.
- If the device operates in a dusty environment, clean it more frequently.
- When indoor humidity is too high, condensation may form on the sensor, causing inaccurate readings. In this case, clean the sensor or switch the device to manual fan mode.
Air Quality Sensor Cleaning Procedure:
Step 1: Use a soft brush to clean the sensor’s air inlet and outlet.
Step 2: Remove the protective cover of the sensor.
Step 3: Use a slightly damp cotton swab to gently wipe the sensor’s inlet and outlet.
Step 4: Wipe again with a dry cotton swab to ensure the sensor is completely dry.
Step 5: Reattach the protective cover in its original position.
Note:
- Clean the air quality sensor every 2 months to ensure the device operates at optimal performance. If the device is used in a dusty environment, clean it more frequently.
- When indoor humidity is very high, condensation may form on the sensor, resulting in inaccurate air quality readings. In such cases, clean the sensor or switch to any manual fan speed setting.
Troubleshooting
Problem | Cause | Solution |
Filter replacement indicator light is on | The filter is dirty and needs to be replaced | Replace the filter and reset the filter timer |
The machine does not operate | Power outage, power button not pressed, damaged power cord or plug | Check the power supply, ensure the unit is turned on, inspect and repair or replace electrical components if necessary |
No air coming out of the outlet | The unit is not plugged in or has not been turned on | Plug the unit into a power source and turn it on |
Fan speed does not change when in Silent Mode | In Silent Mode, the fan speed is set to very low | This is normal operation for Silent Mode |
Weak airflow | Packaging remains on the filter | Ensure all packaging is removed from the filter before use |
Air quality does not improve | The air quality sensor is damp or the environment has high humidity | Ensure the sensor is clean and dry. Clean the sensor following the instructions |
Air quality indicator color does not change | The air quality sensor is dirty | Clean the sensor to ensure accurate readings |
Want to improve filtration for allergy sufferers | Default sensitivity may not be sufficient | Adjust the sensor sensitivity in the settings to increase performance |
The device is noisy | Filter packaging has not been removed, or fan speed is set too high | Remove all packaging from the filter, and reduce the fan speed to lower the noise |
After replacing the filter, the unit still indicates filter replacement | The filter reset has not been performed correctly | Press and hold the Filter Reset button as instructed in the user manual |
No mist output when humidification function is on | Lack of water or poor contact of the wicking element | Fill the water tank and ensure the wicking element is properly in contact with the humidifying module |
Technical Specifications
Specification | Value |
Model | KM-A65 |
Applicable Area | 10–60 m² |
Clean Air Delivery Rate (CADR) | 513 m³/h |
Fan Speeds | 5 levels |
Noise Level | 23 / 30 / 45 dB |
Humidification Capacity | 100 ml/h |
Water Tank Capacity | 300 ml |
Sensors | Infrared: PM2.5, humidity, odor, temperature |
Filtration System | 3 layers: Pre-filter, HEPA H13, Activated Carbon |
Negative Ion Output | 20 million/cm³ |
UV Lamp | Yes |
Remote Control | App + Remote |
Dimensions | 320 × 320 × 660 mm |
Weight | 7 kg |
Voltage | 220V – 50Hz |
Share the article


Related news